Sandpaper Demystified: Grit, Materials, and Pro Tips for Flawless Finishes
What Is Sandpaper? Abrasives, Backings, and Grit Explained
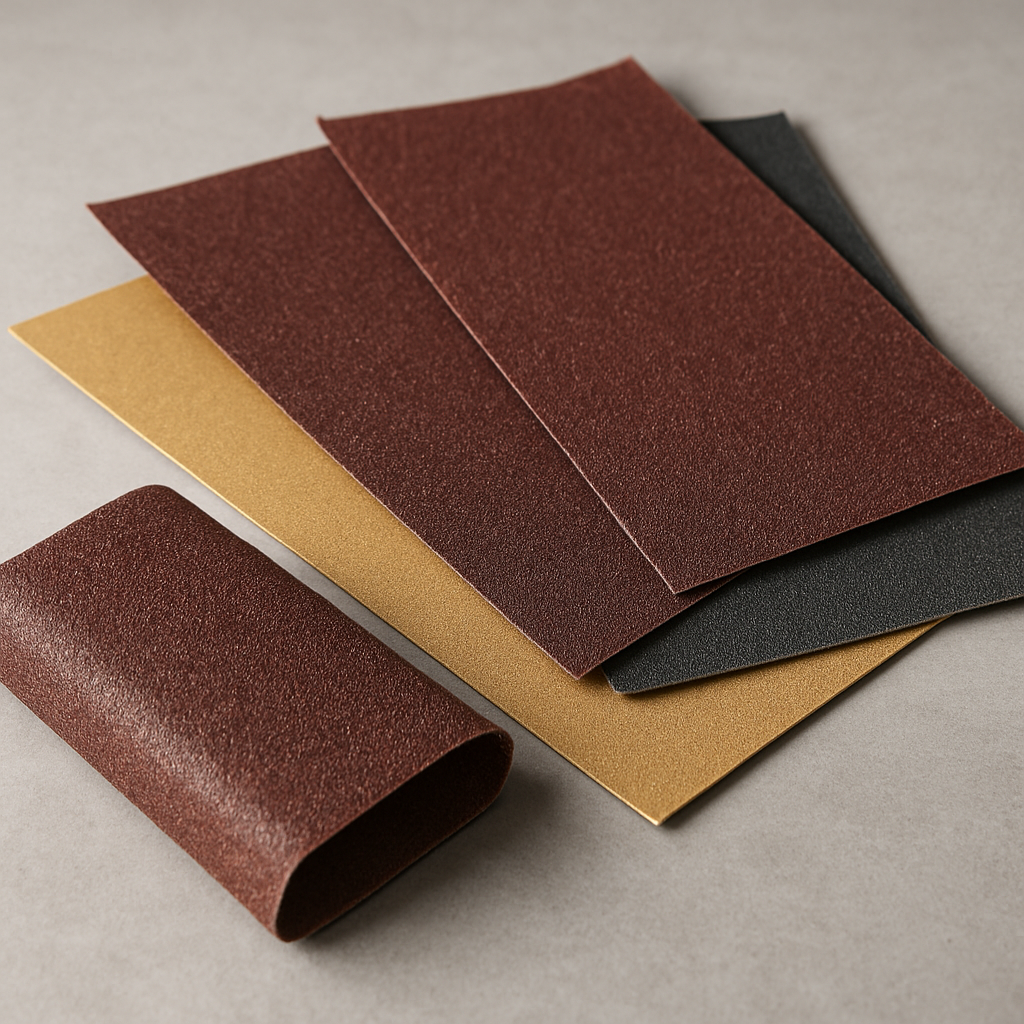
At its core, sandpaper is an engineered abrasive that shapes, smooths, and refines surfaces by removing controlled amounts of material. Despite the name, modern sheets rarely contain literal sand. Instead, they use precision-made minerals bonded to a backing. The magic lies in the interplay of abrasive type, backing strength, grit size, and coating density. Understanding those components makes it easier to select the right sheet or disc for woodworking, metal fabrication, auto refinishing, plastics polishing, and even delicate electronics enclosures.
Common abrasive minerals include aluminum oxide for general-purpose wood and metal work, silicon carbide for hard materials, wet sanding, and paint leveling, and tougher options like zirconia alumina or ceramic alumina for high-pressure stock removal and long service life. The abrasive is applied to a backing that can be paper (A–F weight designates stiffness), cloth (J for flexible up to X for rigid), film (ultra-uniform for finishing and micro-finishing), or foam (for contour sanding). Adhesive systems vary: pressure-sensitive adhesive (PSA) for discs and rolls that need a firm hold, or hook-and-loop for fast changes and dust-friendly setups. Each combination affects cut rate, flexibility, and durability.
Grit rating determines aggressiveness. In North America you’ll often see CAMI numbers (60, 80, 120), while European FEPA uses “P” prefixes (P80, P120). They’re related but not identical, so consult equivalency charts when matching consumables across brands. Coarser grits (P36–P80) remove material quickly, medium grits (P100–P180) refine the shape, and fine to micro grits (P220–P3000+) deliver smooth, polish-ready surfaces. For precision finishing—think acrylic, lacquer, or clear coat—film-backed P800–P3000 maintains uniform scratch patterns that buff out predictably.
Coating density also matters. Open-coat papers leave more space between grains to reduce clogging when sanding softwoods or paints that generate dust and swarf. Closed-coat packs grains densely for faster cut on hardwoods and metals, though it may load sooner on gummy materials. Many finishing papers include a stearate (anti-loading) treatment that helps shed debris and prevent those annoying pigtail scratches. Combined with proper dust extraction—through-hole discs and vacuum-ready sanders—the right paper keeps the scratch pattern consistent and extends usable life.
How to Choose the Right Sandpaper for Wood, Metal, Paint, and Plastics
Start with the material and the goal. For raw wood, choose an open-coat aluminum oxide in P80–P120 to flatten and shape, then progress through P150–P180 for general hardwoods. If you plan to stain, avoid jumping grits; moving from P120 to P150 to P180 yields an even scratch pattern that accepts color uniformly. For film finishes or clear coats on furniture, continue with P220–P320 before applying sealer. Between coats, a soft pad with P320–P400 knocks down nibs without cutting through edges. Softwoods and resinous species benefit from anti-load stearate papers, and a vacuum sander adds consistency while reducing dust in home workshops and maker spaces.
For metals, match abrasive to both the alloy and your tool pressure. Light deburring on aluminum works well with P120–P220 aluminum oxide or silicon carbide, while steel and stainless respond best to zirconia or ceramic grains in the P60–P120 range for stock removal. When prepping bare steel for paint, aim for a uniform tooth with P180–P220 so primers adhere. On automotive panels, dry sand body filler with P80–P120, refine with P180–P240, then switch to wet/dry silicon carbide at P400–P800 before sealer and base coat. Clear-coat leveling and orange-peel removal often use P1500–P3000 film before buffing with compound and pad systems.
Plastics and acrylics scratch easily and can heat up. Choose film-backed silicon carbide and keep pressure light. Use a gradual progression—P400, P600, P800, P1000, then P1500 or finer—with water to manage heat and flush debris. For 3D-printed parts, start coarser (P120–P180) to remove print lines, then step through mediums to fine grits. A foam interface pad helps conform to curves and reduces gouging. When shaping epoxy resin or composites, dust extraction and respirator use are essential; ceramic or zirconia papers last longer when facing abrasive fillers and glass fibers commonly found in reinforced materials.
Whether kitting out a garage bench or standardizing consumables across a maintenance team, sourcing from a well-stocked online catalog simplifies selection and reordering. Look for clear grit scales, backing specs, and compatibility with your sander’s hole pattern and attachment method. A single place to compare paper, cloth, and film options—along with discs, sheets, and rolls—saves time and improves consistency across jobs. If you’re building a versatile kit, start with a core progression in aluminum oxide for wood and general tasks, a set of silicon carbide for wet finishing, and a few heavy-duty zirconia sheets for tough metalwork. When shopping for sandpaper, details like anti-load treatment, coat type, and grain composition help you choose consumables that cut faster, last longer, and leave cleaner scratch patterns.
Pro Techniques: Sanding Systems, Safety, and Efficiency for DIY and MRO
A professional finish is the result of a controlled system, not just a single grit. Start by setting a target surface quality, then plan a grit progression that removes the previous stage’s scratches without jumping too far. As a rule, move up by no more than 50–100% in grit size (for instance, P80 to P120 to P180). Use pencil guide marks to reveal low spots during leveling. On wood, keep strokes with the grain for final passes; on metal, alternate crosshatch directions between grits to verify that previous scratches have disappeared. On curved panels and profiles, a foam interface pad maintains contact while preventing edge burn-through.
Tool pairing elevates results. A random orbital sander (5–6 inch) delivers swirl-free finishes on wood and paint, while a belt sander removes stock quickly on boards and weld preps. Inline sanders flatten edges and frames, and detail sanders reach corners. Whenever possible, use dust extraction: it cools the abrasive, reduces loading, and protects lungs and finishes. For hand sanding, a proper block equalizes pressure across the surface; avoid finger sanding on flat panels, which creates troughs. Keep a rubber cleaning stick for open-coat belts and discs to restore cutting action mid-job, extending consumable life and maintaining cut speed.
Safety and surface integrity go hand in hand. Always wear eye protection and a suitable respirator, especially when sanding paint, hardwoods, composites, or ferrous metals. Hearing protection is wise for extended sessions with powered sanders. Control heat on plastics and thin metal panels by using lighter pressure and fresh abrasives; a dull sheet requires more force and generates excess warmth. When wet sanding, use clean water with a few drops of surfactant to reduce clogging and improve glide. Tape sensitive edges and mask trim to avoid accidental burns or cut-through on finishes and veneers.
Real-world scenarios highlight the value of a methodical approach. Refinishing a hardwood tabletop often starts with P80 to flatten cup and remove finish, transitions to P120 and P150 to erase milling lines, and finishes at P180–P220 before stain. An auto panel repair might shape filler at P80–P120, refine at P180–P240, block to P320, and wet sand P600–P800 before primer and base. For an electronics project enclosure, deburr at P220, then move to film-backed P400–P800 for a uniform satin that hides fingerprints. In maintenance environments, standardizing these progressions—and stocking compatible discs, sheets, and rolls—boosts repeatability, reduces rework, and ensures that every operator produces the same predictable, professional outcome with minimal waste.
Sofia-born aerospace technician now restoring medieval windmills in the Dutch countryside. Alina breaks down orbital-mechanics news, sustainable farming gadgets, and Balkan folklore with equal zest. She bakes banitsa in a wood-fired oven and kite-surfs inland lakes for creative “lift.”


Post Comment